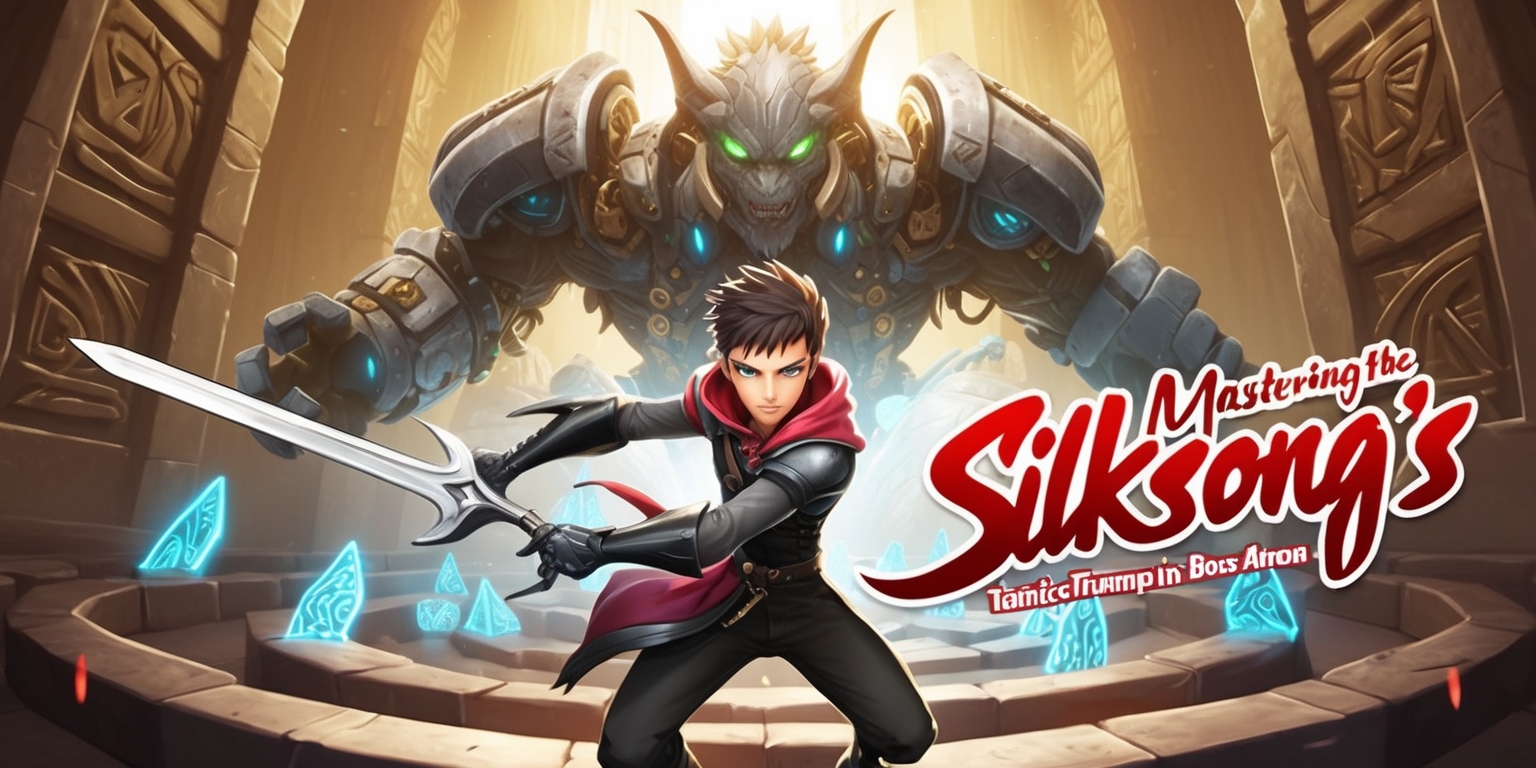
Mastering the Labyrinth: Tactics and Triumph in Silksong's Boss Arena
- 2025-09-11
The journey toward facing a uniquely formidable foe in Hollow Knight: Silksong is filled with intricate challenges and exhilarating discoveries. Venturing into Bellheart, players are drawn into fleeting moments of danger and precision-based actions. This battle, though optional at first, looms large as one makes progress toward vital rewards. Every step in pursuing this encounter carries with it secret techniques, hidden paths, and the thrill of mastering new gameplay mechanics. As you brave the labyrinthine corridors and narrow passages, your skills and abilities gradually become the key to overcoming a foe whose agility and relentless attacks keep you on your toes throughout the experience.
Charting the Hidden Territory
Your quest to confront the elusive foe begins with an exploration of concealed areas that only reveal themselves after careful navigation through Shellwood. In this realm, the gameplay emphasizes the importance of thorough exploration and puzzle-solving. The world of Silksong requires that you unlock access to crucial abilities by defeating key enemies, and confronting earlier bosses reveals hidden skills that facilitate reaching otherwise inaccessible zones. The region’s labyrinthine design and the effective use of double jumping on walls create both a visually stimulating and functionally demanding environment. This area is crafted to test your finesse at maneuvering around traps and narrow pathways while keeping track of enemies that lurk in dark corners, ensuring that every step is imbued with danger and potential discovery.
Mastering New Movements
Before the imminent confrontation, players must secure an essential skill that reshapes the dynamic of exploration in Silksong: the ability to double jump. This maneuver is not merely a vertical boost but a tactical asset that unlocks hidden parts of the map and enables navigation through daunting passages. With newfound maneuverability, you can now scale tough surfaces, traverse gaps, and reach platforms previously beyond your grasp. The double jump is also pivotal in dodging rapid enemy attacks and circumventing hazardous projectiles scattered across your path. As you master this skill, the gameplay becomes a balance between aggressive advancement and calculated evasion, offering a satisfying blend of action and precision that enriches the overall experience.
Uncovering the Shortcut Routes
One of the notable challenges lies in unlocking an efficient passage that links the boss arena directly to a nearby Bench in Shellwood. This shortcut is not immediately obvious and requires attentive observation of the map layouts and corridors dotted with opponents such as Furm and Winged Furm. Navigating narrow passages and bypassing bell-adorned walls call for both agility and strategic planning. The process of discovering and securing these routes adds an exploration element that deepens the overall immersion of the game. By successfully creating this passage, you not only improve your mobility between various regions but also reduce the tension and risk inherent to a lengthy, enemy-laden voyage through unknown territories.
Approaching the Swift Adversary

Once the passage is in place, the focus shifts to the upcoming battle against a uniquely agile adversary. The enemy in question exhibits a multifaceted moveset that combines speed with a barrage of projectile attacks. At the onset of the encounter, you are met with a barrage of swinging arms and projectile bells that test your ability to react swiftly. The mechanics of her first phase lean towards predictable patterns, allowing observant players to find safe windows for offense while avoiding the burst of attacks. Precision, timing, and positional awareness become your indispensable tools. Each dodged strike and calculated counterattack lifts the veil on the complexity of the encounter, and the battle quickly transforms into a test of your mastery over both movement and combat techniques.
Engagement in the Initial Phase
The first phase presents itself as an introductory bout where the foe displays a more straightforward, though still perilous, attack pattern. As immediate threats arise from her summoned bolts and swinging pincers, you learn to manage space and timing under pressure. The encounter is structured so that any static moment provides an opportunity to strike, thereby rewarding careful observation. In this phase, the enemy’s predictable movements allow for consistent openings where you can launch counterattacks, especially when she momentarily pauses to summon more projectiles. This equilibrium of caution and aggression makes the initial confrontation both accessible to newcomers and engaging for veterans who thrive on the balance of risk and reward. Every dodge, jump, and well-timed attack builds your confidence as you edge closer to unraveling her combat secrets.
Transitioning into a Higher Intensity Encounter
After delivering a series of precise strikes in the early phase, the dynamics shift drastically into a more complex second phase. At this stage, the enemy’s maneuvers become significantly unpredictable as she accelerates her actions and initiates new, less foreseeable combinations. In this heightening of tension, every movement appears amplified and the rapid summoning of projectiles creates a chaotic battlefield. The familiar pincer attack, once controlled and orderly, evolves into a sequence of random charges that require even greater reflexes and alertness. The game design intentionally increases the pressure, demanding that you constantly balance offensive moves with defensive evasion. In this flurry of rapid strikes, "every choice executed amid the intensity of combat" takes on substantial weight as you navigate a storm of relentless assaults.
Defensive Techniques and Positioning
In the midst of relentless onslaughts, your approach must pivot towards a keen sense of positioning and damage mitigation. One of the strategies involves using specialized equipment to bolster your defense while remaining agile enough to avoid incoming attacks. Implementing techniques such as aerial healing, when executed with precision, enables you to recover vital resources while maintaining a safe distance from the barrage of projectiles. The game emphasizes not only offense but also the importance of evasive maneuvers and strategic retreats. By monitoring both the enemy’s position and the trajectory of projectiles carefully, you can time your escapes and utilize the environment to shield you from concentrated attacks. Such a balanced approach underscores the importance of reading the battlefield and responding with measured, purposeful actions.
Integrating Offensive Skills From Afar
Complementing your nimble movement with a measured offensive plan from a distance allows you to manage the enemy’s chaos more effectively. Ranged skills and throwable marks provide a significant edge, enabling you to weaken the foe while staying out of the immediate range of her most dangerous strikes. By leveraging these abilities, you create opportunities to trigger flurries of damage without exposing yourself to the unpredictability of rapid melee encounters. The skillful use of ranged techniques introduces An added level of strategic complexity, inspiring players to think several moves ahead. The necessity to balance between direct engagement and keeping a safe distance brings a rhythmic cadence to the battle, emphasizing the interplay between precision attacks and timely retreats as you steadily chip away at the opponent’s defenses.
Balancing Movement with Assaults
The true essence of this challenging battle emerges in the constant interplay between offense and defense. It is here that careful movement in tandem with potent attacks becomes critical. Each moment on the battlefield is a delicate balance of timing a well-aimed strike while also preparing for sudden onslaughts that could disrupt your rhythm. Knowing when to hold a position, wait for the enemy’s pattern to momentarily pause, or make a swift dash toward safety, adds an invigorating layer of skill orchestration throughout the fight. This constant ebb and flow reinforces the importance of remaining alert and adaptable, turning the encounter into an art form where strategy and reflexes converge to define the outcome of the engagement.
Strategic Use of Specialized Equipment
An indispensable element in this challenging duel is the strategic deployment of specialized equipment. For instance, equipping certain items provides a more forgiving margin for error when evading when the enemy's projectiles converge. Such tools give you an advantage by allowing you to engage more confidently in tight spaces, especially when the onslaught spreads into multiple directions. These tools not only boost your defensive capabilities but also enable safer execution of high-risk, high-reward maneuvers like aerial healing. By fostering an environment where every tool is leveraged to its maximal potential, the game encourages a thoughtful approach where preparation is as critical as execution. The judicious use of these assets marks a turning point in the engagement, allowing you to adapt dynamically to an ever-shifting battlefield.
Adapting to Escalating Difficulty
As the engagement escalates into its latter stages, adapting becomes not just beneficial, but essential. The enemy’s increase in attack frequency and her enhanced agility come together to forge a battle that constantly challenges your limits of agility and strategic planning. Navigating this maze of rapid and randomized maneuvers requires a keen understanding of the enemy's behavioral cues and a willingness to adjust your tactics on the fly. Every encounter in this heightened phase tests your reflexes and strategic sensibilities. The challenge is elevated by a continuous stream of projectiles that force split-second decisions, pushing you to balance risk with technique. This demanding phase is a testament to the game’s design, offering a comprehensive blend of intensity and precision that aims to reward perseverance and learning through each split-second encounter.


